| It seems like I have been ranting and raving about finger
knitting to anyone who will listen to me.
So I thought I would give a basic finger-knitting tutorial. I have found
that there are essentially three different methods for finger knitting,
but this seems to be the easiest one to show you. The limitations are
that you are limited to 10 stitches across unless you want to rig additional
objects to increase your stitches. |
||
Click on any of the photos below
to see a larger photo! |
||
 |
 |
 |
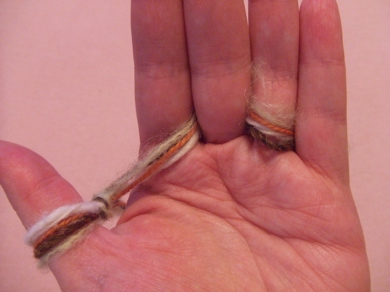
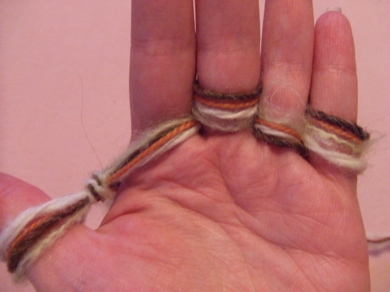
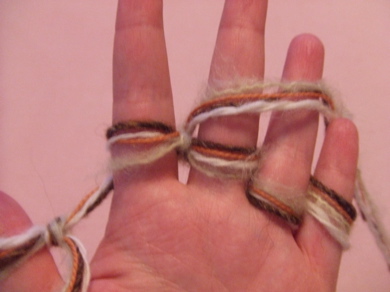
| Make a slipknot and wrap it around your thumb. Then weave the thread as pictured. | Once you hit the pinky wrap back the other direction. | You have cast on at this point. |
 |
 |
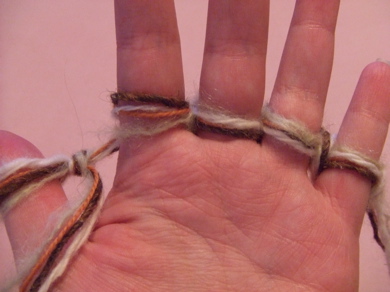 |
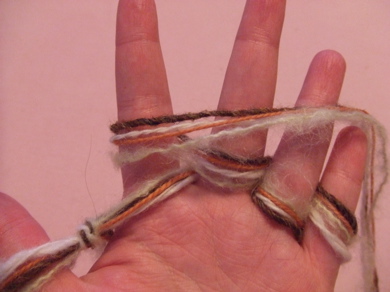
| This row only, Take the thread between the first finger and thumb and wrap around first finger to lock in the first row. | Take the loop below over your finger locking in the thread lying across the top. | Here you see the first row with the piece of thread locked into place |
 |
 |
 |
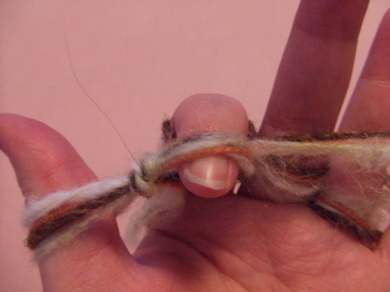
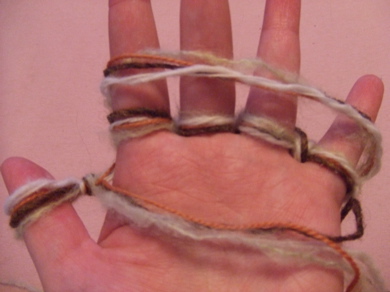
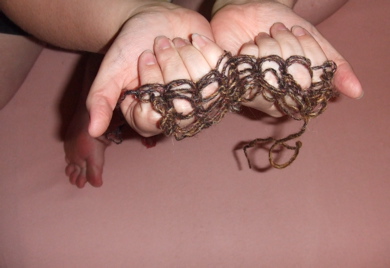
| Cross the thread now right to left and lock the stitches again. | A photo of the knitted fabric behind your fingers | A photo of the final fabric |
 |
 |
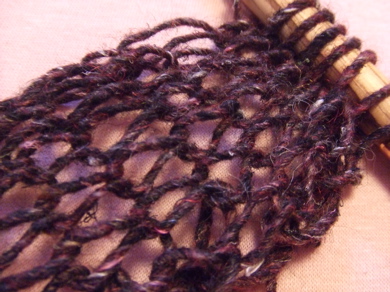 |
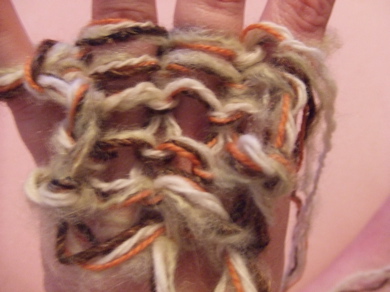
| 8 stitches row | Fabric hanging behind | Transferred onto a pen to hold the stitches. |
 |
||
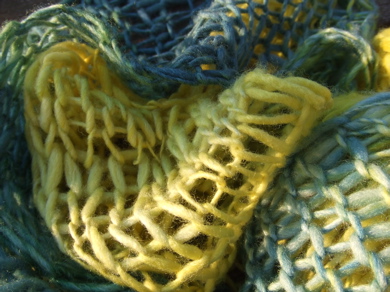
| Here is a sneak peak at my finger knit scarf and why I have fallen in love with this technique. The yarn is very special to me, so I am super happy to have found something to show off its beauty. MG hand spun it for me last year. This was such a perfect project for it and I couldn't be happier with it. More tomorrow.... | ||
Saturday, July 14, 2007
kitty: finger knitting
Subscribe to:
Post Comments (Atom)


Thanks for the tutorial!
ReplyDelete